- 7.5.9 Reverse Engineering
- 7.5.9.1 Reverse Engineering Using a Create Script
- 7.5.9.2 Reverse Engineering a Live Database
This section explains how to reverse engineer a live database using MySQL Workbench.
Select the Database, Reverse Engineer ... menu item from the main menu. Doing this opens the Reverse Engineer Database wizard.
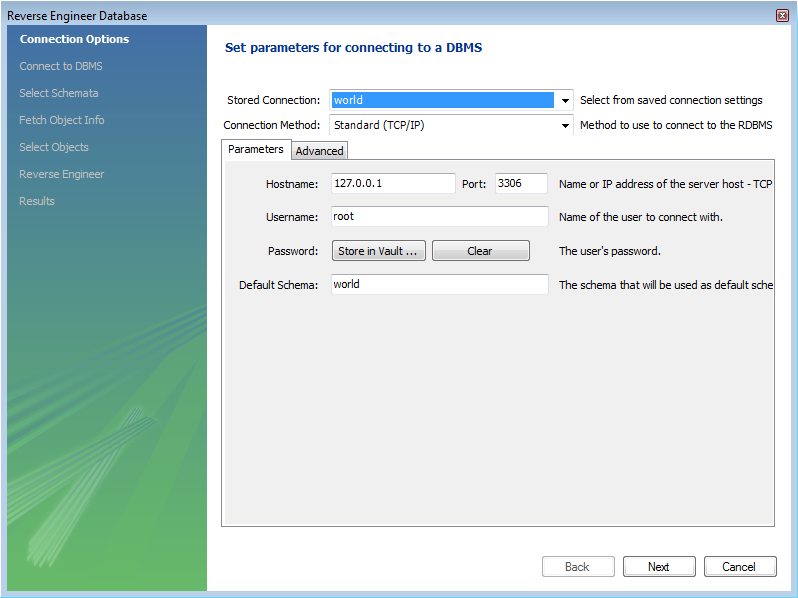
The first page of the wizard allows you to set up a connection to the live database you wish to reverse engineer. This allows you to set up a new connection, or select a previously created connection. Typical information required for the connection includes hostname, username and password.
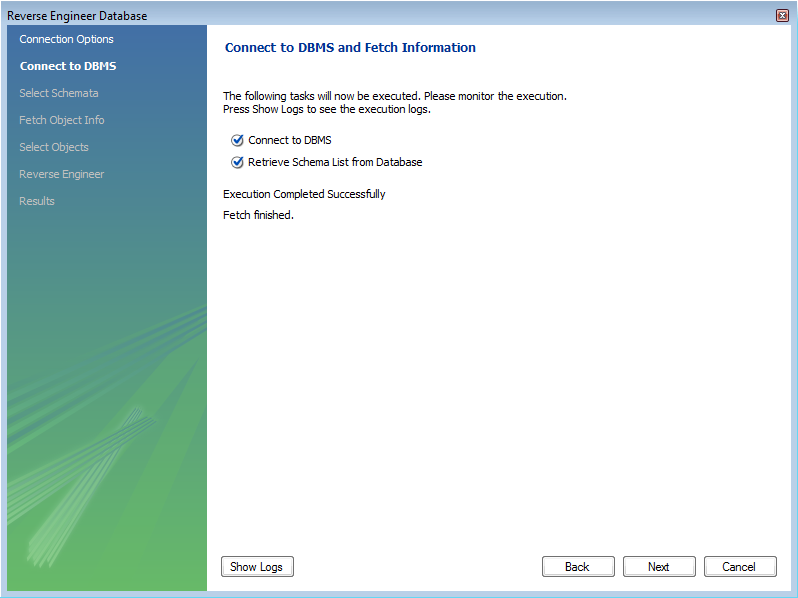
Once this information has been entered, or you have selected a stored connection, click the Next button to proceed to the next page:
Review the displayed information to make sure that the connection did not generate errors, then click Next.
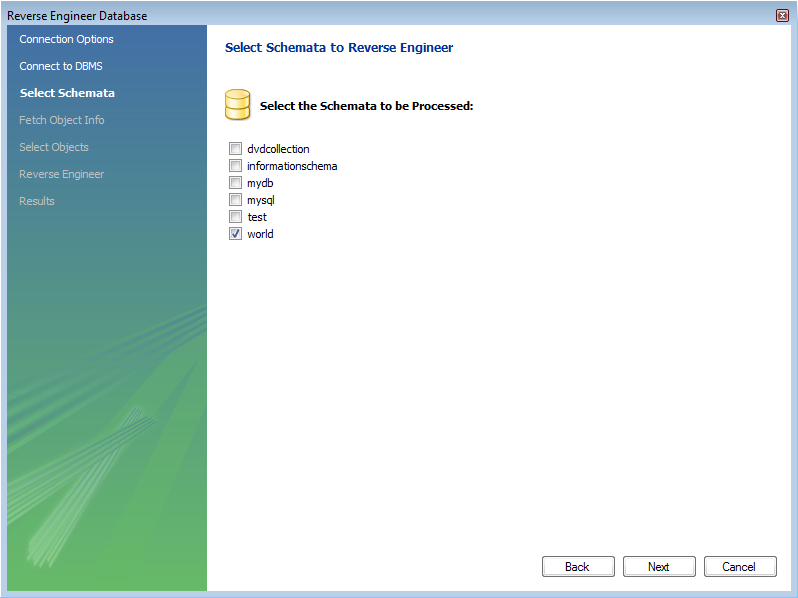
On the next page you can select the database schema you want to connect to among those available on the server. Simply click the checkbox or checkboxes associated with the schema you wish to process:
Once you have selected the desired schema, click the Next button to continue.
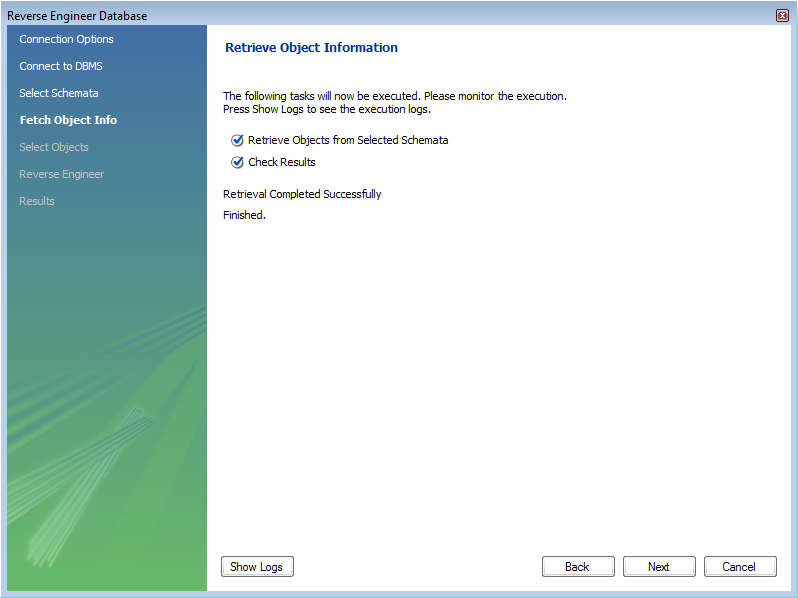
The wizard then displays the tasks it carried out and summarizes the results of the operation:
Review the results before clicking Next to continue.
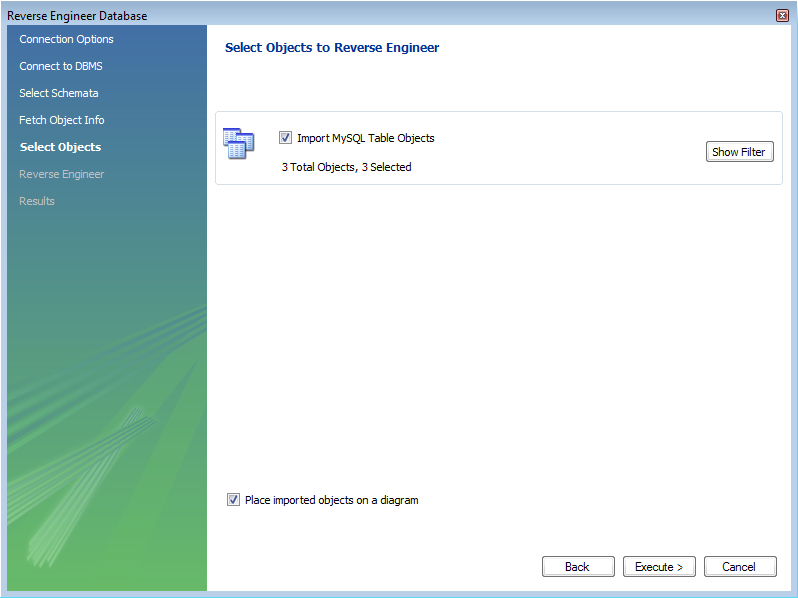
The next page is the Select Objects page. It is
sectioned off by object type. This screen is of special interest
if you do not wish to import all the objects from the existing
database — this screen gives you the option of filtering
which objects are imported. Each section has a Show
Filter button. Click this button if you do not want to
import all the objects of a specific type.
For the Import MySQL Table Objects section, if you click on the Show Filter button the following page is displayed:
This allows you to select specific tables that you wish to import. Having selected the desired tables you can optionally hide the filter by clicking the Hide Filter button.
The other sections have similar filters available.
You can click Next to continue to the next page.
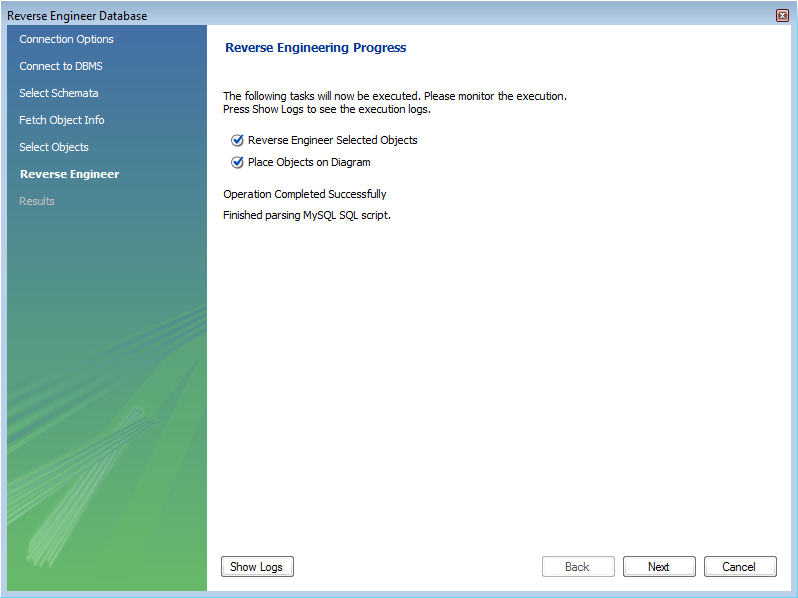
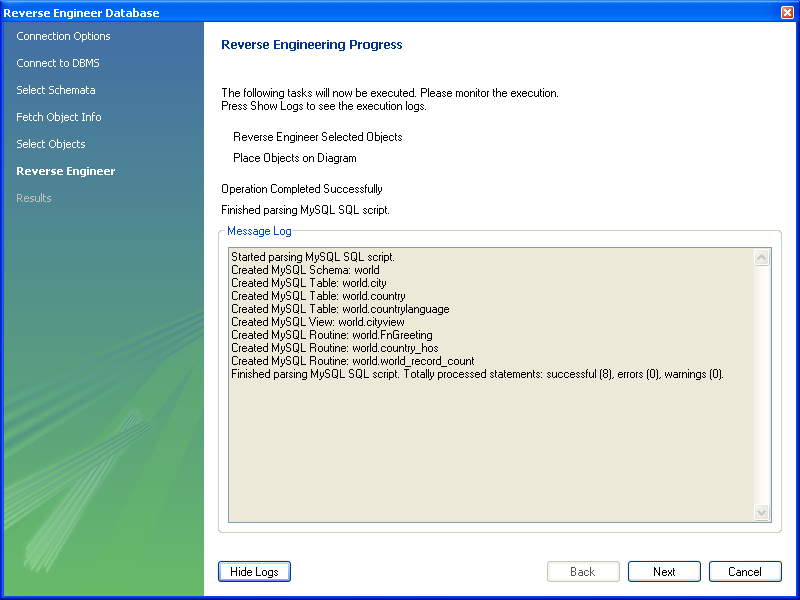
The wizard then displays the tasks that have been carried out and whether the operation was successful or not. If errors were generated then you can click on the Show Logs button to see the nature of the errors.
Click Next to continue to the next page.
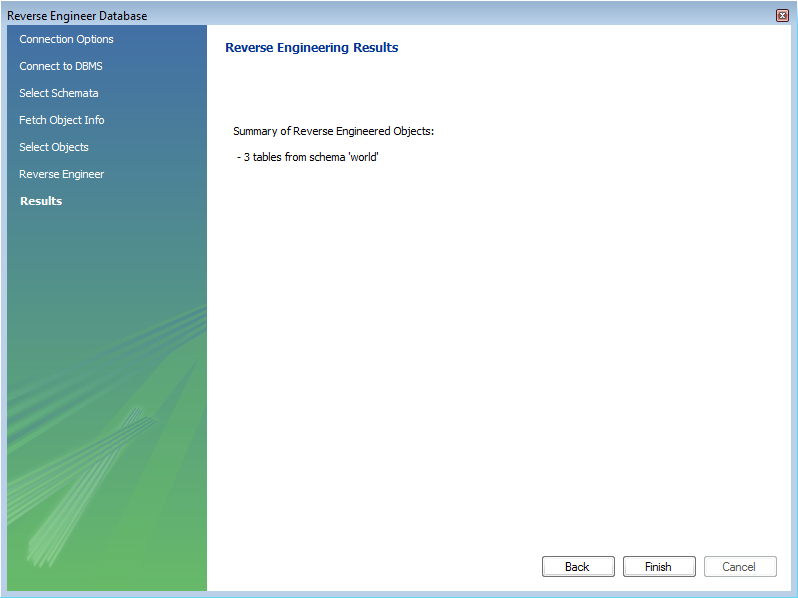
The final screen of the wizard provides a summary of the reverse engineered objects:
Click Finish to exit the wizard.
Before leaving MySQL Workbench be sure to save the schema. Choose the
File, Save menu item and the
reverse-engineered database will be saved as a MySQL Workbench
file with the extension mwb.
During reverse engineering the application checks for tables and views that duplicate existing names and disallows duplicate names if necessary. If you attempt to import an object that duplicates the name of an existing object you will be notified with an error message. To see any errors that have occurred during reverse engineering you can click on the button Show Logs. This will create a panel containing a list of messages, including any error messages than may have been generated. Click the Hide Logs button to close the panel.
If you wish to import an object with the same name as an existing object, rename the existing object before reverse engineering.
If you import objects from more than one schema, there will be a
tab in the Physical Schemata section of the
MySQL Model page for each schema imported.
You cannot reverse engineer a live database that has the same name as an existing schema. If you wish to do this, first rename the existing schema.

