- 4 Getting Started Tutorial
- 4.1 Creating a Model
- 4.2 Adding Data to Your Database
In this section you will learn how to create a new database model, create a table, create an EER Diagram of your model, and then forward engineer your model to the live database server.
-
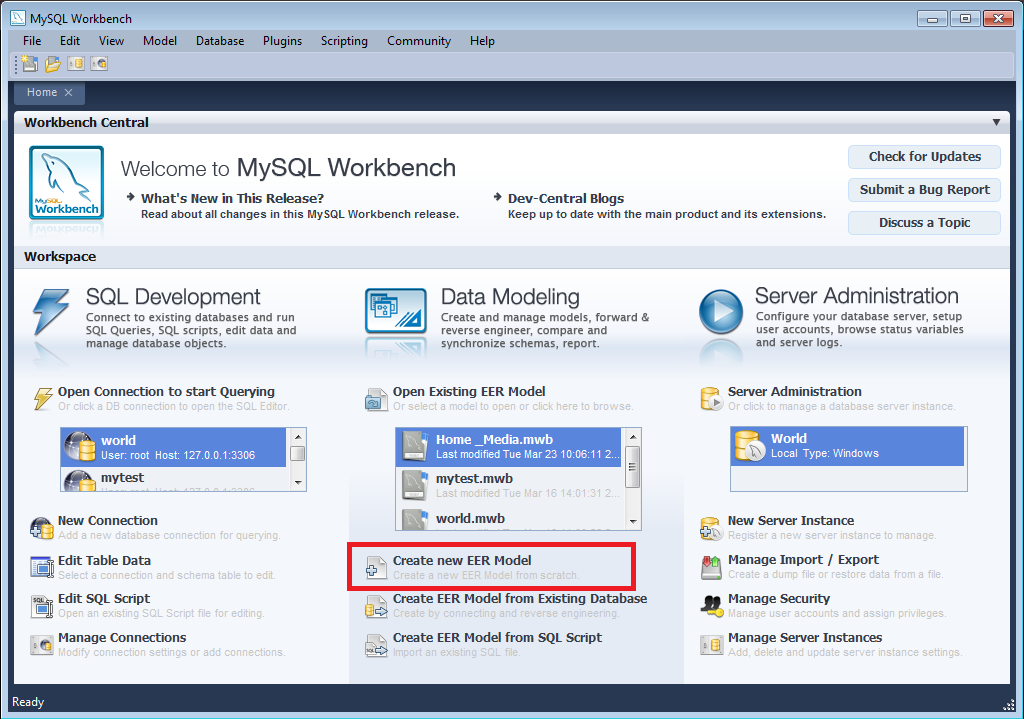
Start MySQL Workbench. On the Home screen select Create new EER Model. A model can contain multiple schemata. Note that when you create a new model, it contains the
mydbschema by default. You can change the name of this schema to serve your own purposes, or simply delete it. -
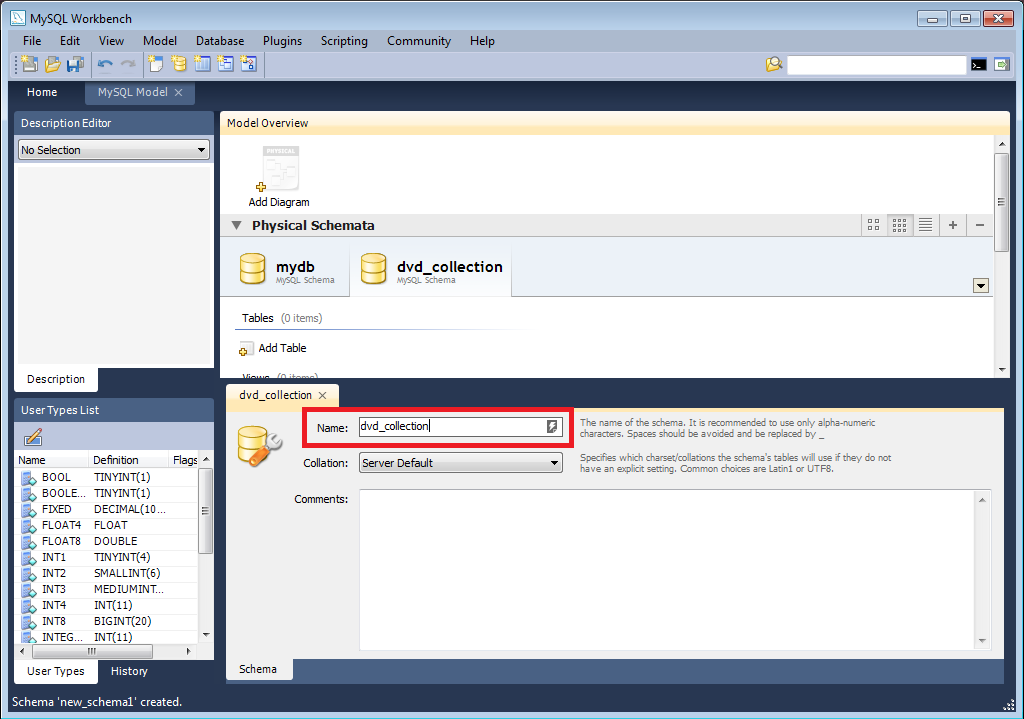
On the Physical Schemata toolbar, click the button + to add a new schema. This will create a new schema and display a tabsheet for the schema. In the tabsheet, change the name of the schema to “dvd_collection”, by typing into the field called Name. Ensure that this change is reflected on the Physical Schemata tab. Now you are ready to add a table to your schema. If at this stage you receive a message dialog asking to rename all schema occurrences, you can click Yes to apply your name change.
In the Physical Schemata section double-click Add Table.
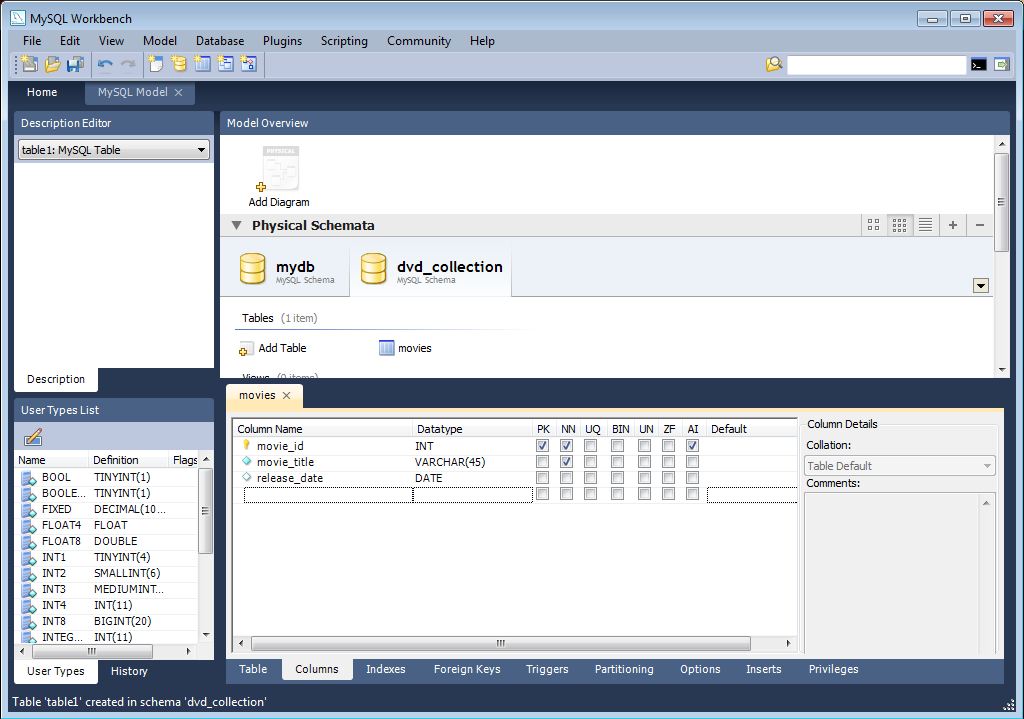
Double click table1 to launch the table editor (you may not have to do this as the table editor will automatically load at this point if you are using later versions of MySQL Workbench). In the table editor, change the name of the table to “movies” and press Enter.The table editor will then switch from the Table tab to the Columns tab, to allow you to enter details of your table columns.
Change the name of the first column to “movie_id”. Select a datatype of
INT. You will then make this column have the following properties: primary key, not null, autoincrement. To do this click the PK, NN, and AI checkboxes.-
Add two further columns:
Column Name Data Type Column Properties movie_title VARCHAR(45) NN release_date DATE (YYYY-MM-DD) None. -
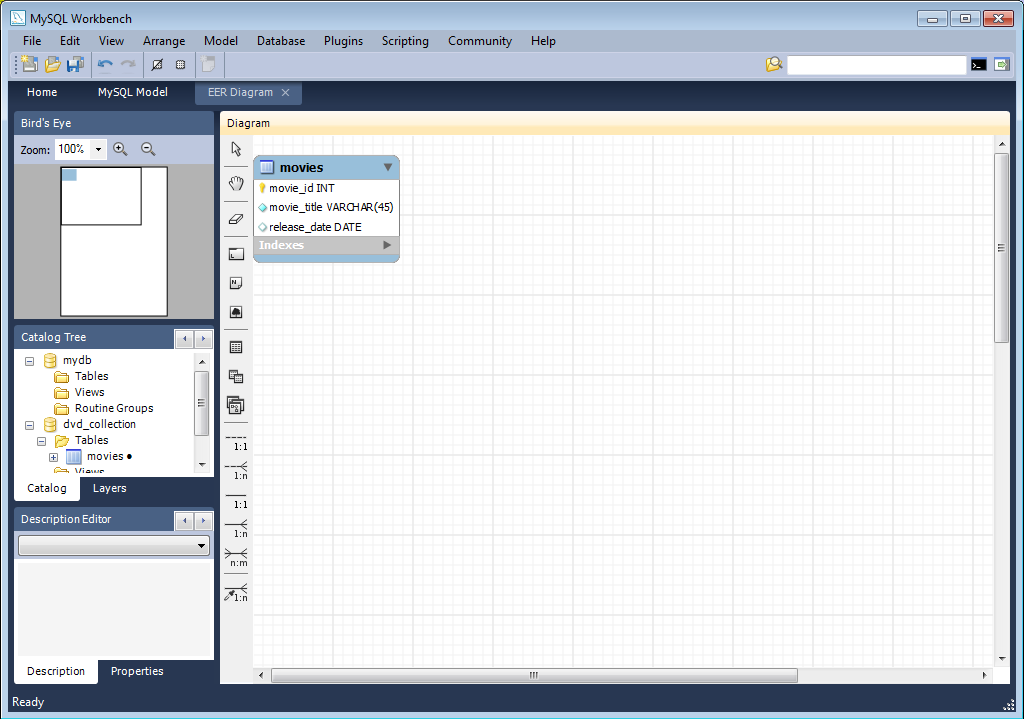
Now you can obtain a visual representation of this schema so far. From the main menu select Model, Create Diagram from Catalog Objects. The EER Diagram will be created and displayed.
Now, in the table editor, change the name of the column “movie_title” to “title”. Note that the EER Diagram is automatically updated to reflect this change.
At this point you can save your model. Click the main toolbar button Save Model to Current File. In this case you have not yet saved this file so you will be prompted to enter a model file name. For this tutorial enter “Home_Media”. The Home_Media model may contain further schemata in addition to
dvd_collection, such ascd_collection. Click Save to save the model.You can synchronize your model with the live database server. First you need to tell MySQL Workbench how to connect to the live server. From the main menu select Database, Manage Connections....
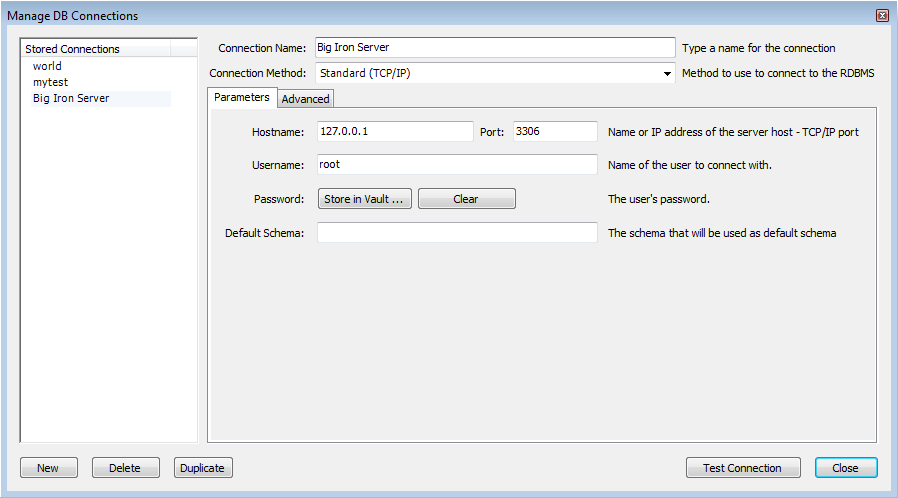
In the Manage DB Connections dialog click New.
Enter “Big Iron Server” for the connection name. This allows us to identify which server this connection corresponds to, although it is possible to create multiple connections to the same server.
Enter the username for the account you will use to connect to the server.
Click on the Store in Vault... button and enter the password for the username you entered in the previous step. You can optionally ignore this step, and you will be prompted for this password whenever MySQL Workbench connects to the server.
-
Click Test Connection to test your connection parameters. If everything is OK at this point you can click Close.
You are now ready to forward engineer your model to the live server. From the main menu select Database, Forward Engineer.... The Forward Engineer to Database wizard will be displayed.
The first page of the wizard is the Catalog Validation page. Click the Run Validations button to validate the Catalog. If everything is in order the wizard will report that validaton finished successfully. Click Next to continue.
The Options page of the wizard shows various advanced options. For this tutorial you can ignore these and simply click Next.
On the next page you can select the object you want to export to the live server. In this case we only have a table, so no other objects need to be selected. Click Next.
-
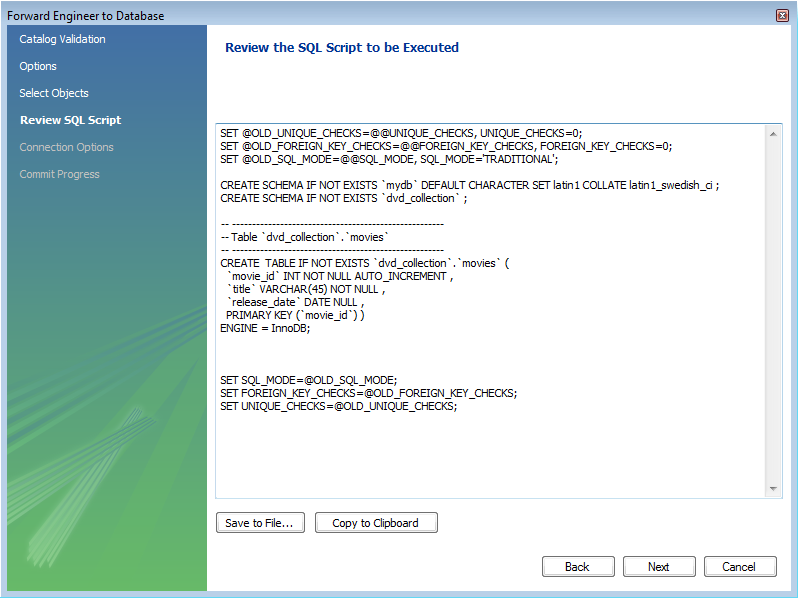
The next screen, Review SQL Script, displays the script that will be run on the live server to create your schema. Review the script to make sure that you understand the operations that will be carried out. Click Next.
Select the connection you created earlier, “Big Iron Server”. Click Execute. Check the messages for any erros, and then click Close to exit the wizard.
Ensure that the script ran without error on the server and then click Close. As a simple test that the script worked launch the MySQL Command Line Client. Enter
SHOW DATABASES;and identify your schema. EnterUSE dvd_collection;, to select your schema. Now enterSHOW TABLES;. EnterSELECT * FROM movies;, this will return the empty set as you have not yet entered any data into your database. Note that it is possible to use MySQL Workbench to carry out such checks, and you will see how to do this later, but the MySQL Command Line Client has been used here as you have probably used this previously.Ensure that your model is saved. Click Save Model to Current File on the main toolbar.

